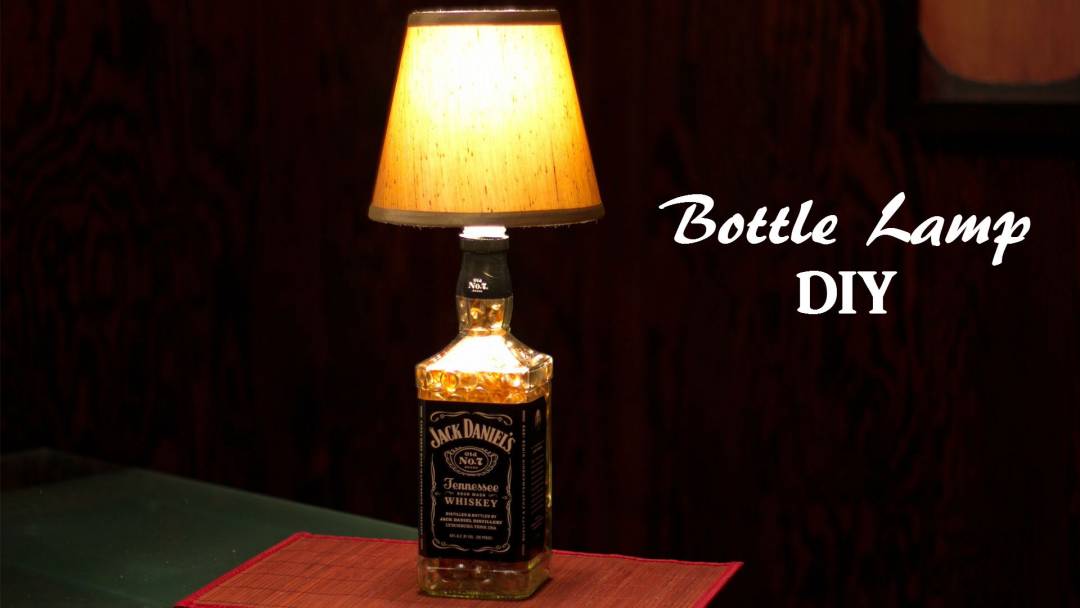
Bottle lamp is an adorable and fascinating DIY project that needs only a few materials and knowledge in electricity. You won't have to put away those bottles because they can turn to something functional like a lamp.
You need:
- bottle
- lampshade
- cable
- electrical tape, heat shrink tubing
- sand, stones, decorative materials
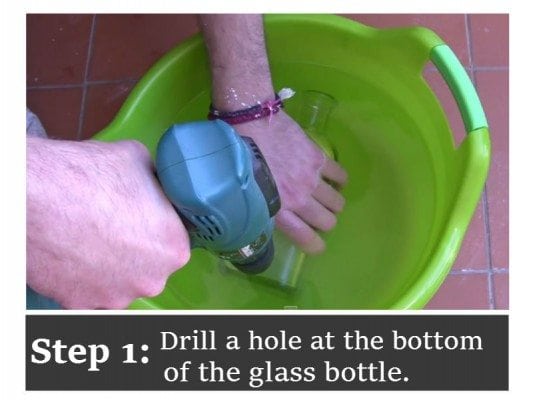
Get the bottle. Make sure to wash and clean it thoroughly. Then, we will drill a hole at the bottom of the bottle. In this tutorial, the bottle is submerged to water to keep it lubricated and cool. Also, to avoid glass dust since that would be dangerous. Let the bottle dry.
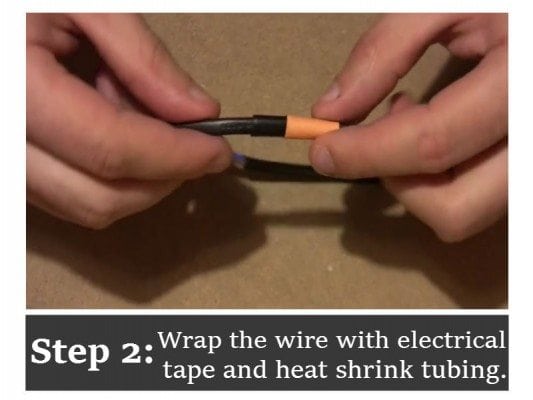
Next, put washer on the cable. Cover the wire with electrical tape specifically the parts that will be inside the bottle. Also, put heat shrink tubing and slightly heat it up to secure it on the cable. This is to protect the wire and avoid open wire.
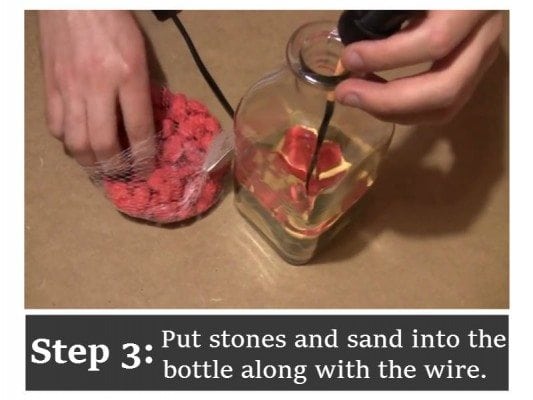
Then, slowly insert the wire into the hole you created until the tip of the cable reaches the bottle's mouth. Move the washer on the heat shrink tubing and using glue, secure it on the hole. After that, attach the socket and fill the empty bottle with sand and stones.
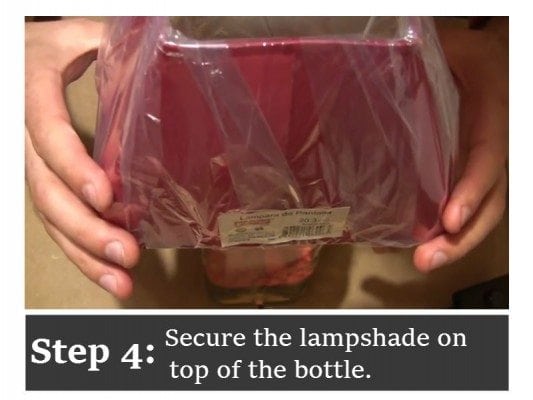
Glue the socket on the mouth of the bottle and attach the lampshade. Then, put the LED light. If you have decorative materials available, you put designs on the bottle to achieve a striking appearance. If you are satisfied, then light it up!.
