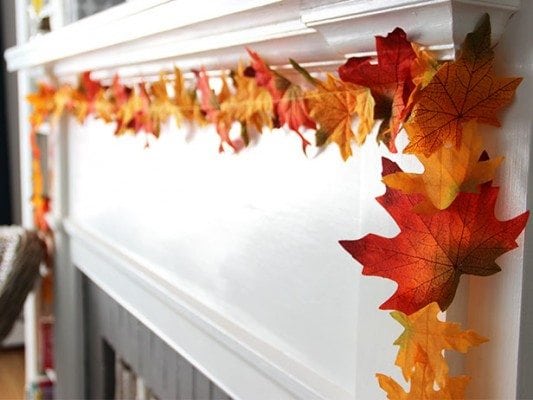
Bring the colors of autumn right to your home with this simple DIY fall garland. Garlands are decorative and thematic. You can incorporate nature into your decorations with this fall garland that you can easily make for your home. Choose from pine cones or leaves to create the look of autumn on your walls and doors. To start this creative DIY decor, read on for instructions.
What you need:
- Fall leaves
- Twine
- Scissors
- Glue gun & glue stick
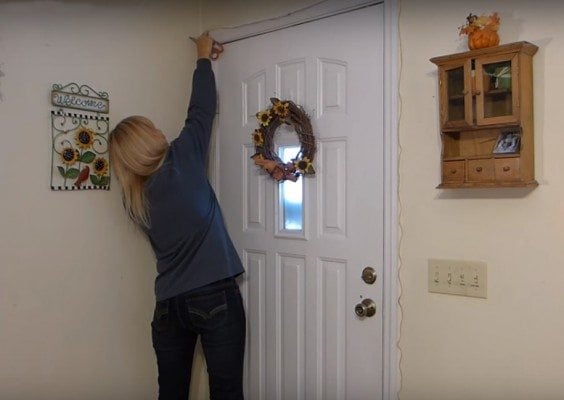
Before we start creating the garland, we need to measure the length of the twine. Decide first where you want to hang your garland, either around the window, door, stairs, fireplace, or on the wall. Place one end of the twine on your starting point and work around the area until the spot where you want to end the garland. That would be the length of your twine.
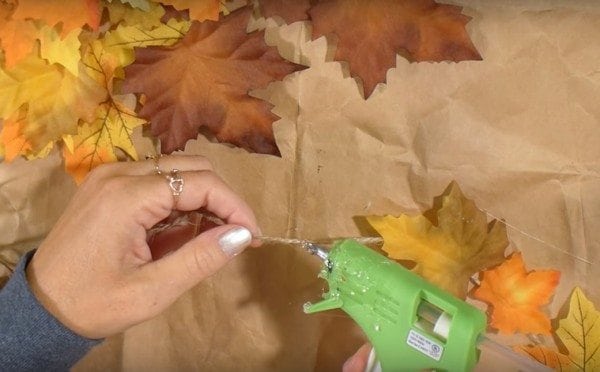
Once done, you can start placing the fall leaves or pine cones. Apply hot glue on the string and carefully position the fall leaves, alternating with some pine cones. You may put various sizes of leaves to give it some character. Moreover, you can place them facing different directions, and stick some pine cones at certain intervals. Then, let it dry.
If you are happy with the look of your garland, you are now ready to attach it the spot where you measured the twine.
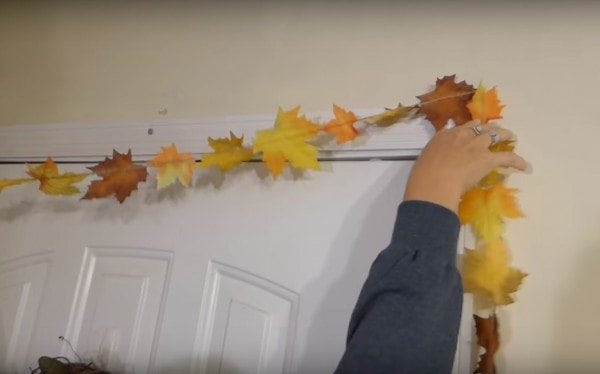
And you are done! A fall garland to redecorate your indoors and outdoors.
