
We all want our things in order and in their proper places for two reasons: to work efficiently and to avoid misplacing of items (I'm Guilty of this). This is why you need a desk organizer. A desk organizer handles your pencils, brushes, tape and everything you need at arms reach.
Desk organizers aren't that expensive, but you can save a few dollars by making your own. A DIY desk organizer is easy to create.
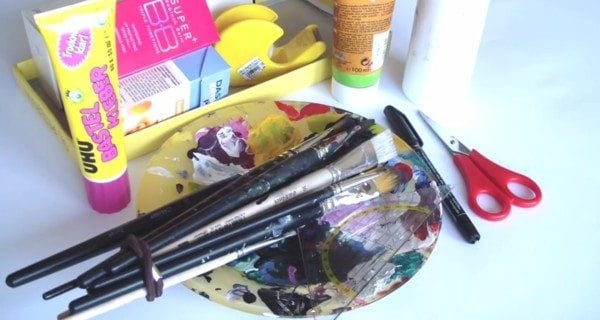
Materials you need:
- Glue
- Scissors
- Shoebox’s lid
- A lot of empty boxes
- Paint and brushes
- Decorative paper
- Tape, pen
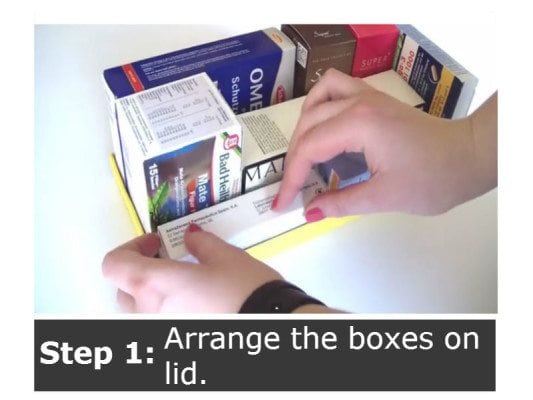
First, arrange the boxes on the shoebox’s lid. It would be better if the boxes come in various shapes. Ensure they fit together on the lid. It may take some time, but keep with it. If you are satisfied with the placement, get a black pen and mark the top of the boxes. This will help you with the proper cutting cutting.
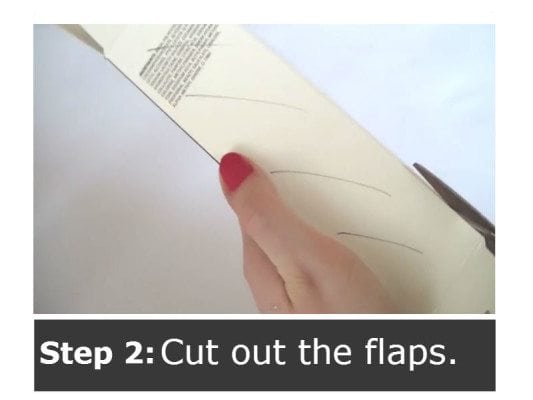
Take one box and open it up. You have to cut out the flaps on the top of the box. Cut them neatly and carefully. Do the same process to the other boxes in the lid. Some may collapse, so you should put it together using tape or glue. Do not forget to secure the corners with tape.
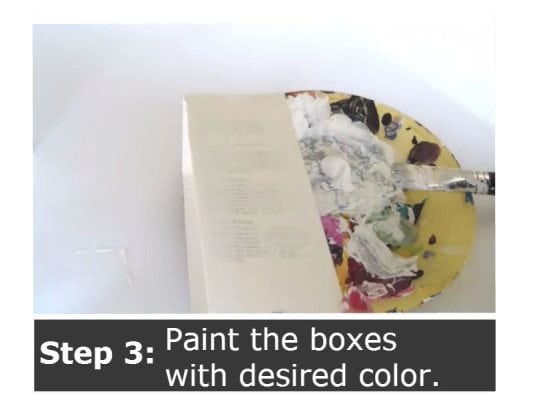
In beautifying your boxes, you have a few options. One is painting them. You can choose any color. In fact, painting the boxes can actually add to their sturdiness. Bring out your creativity and create unique designs on the boxes. Do the same with other boxes, then let them dry for at least 15 minutes.
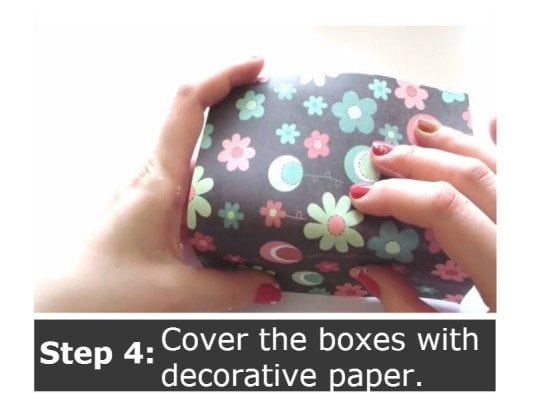
Another option is using decorative paper. Glue right at the edge of the box for you to easily cover it entirely. Use a glue stick to avoid the box getting wet. Do the same to other boxes. Then, arrange the boxes on the lid and add some finishing touches to the lid with ribbon, beads or decorative paper.
If you are satisfied with the look of your sturdy and lovely DIY desk organizer, then you can start putting your things in it.


