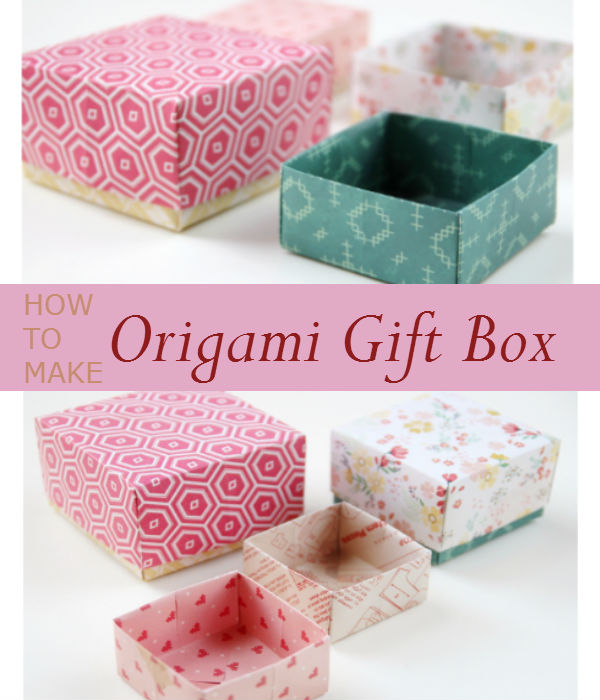
Want to give someone a special gift? Put it in a DIY origami gift box to make it more personal. How to make one? It is very simple.
Materials you need:
- colored paper
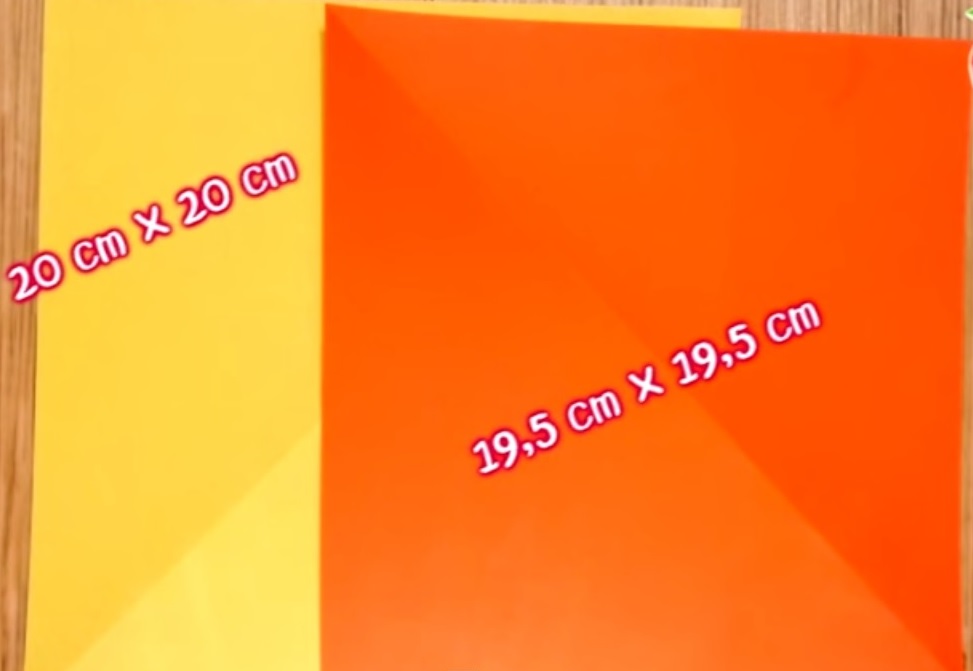
Any color will do for your two papers, ensure they must complement each other. Moreover, one must be a bit smaller than the other so you will have the perfect DIY origami gift set.
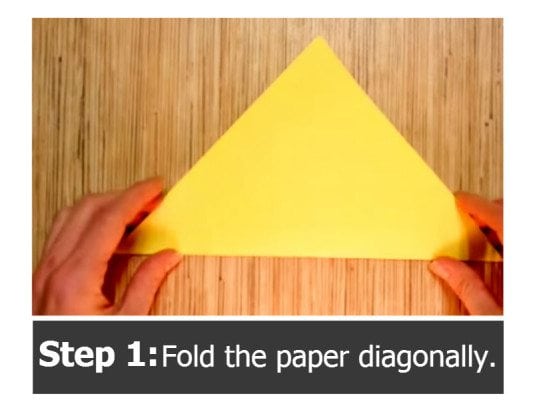
Start with one paper. Fold it diagonally. Open it again and fold it the same way on the opposite side.
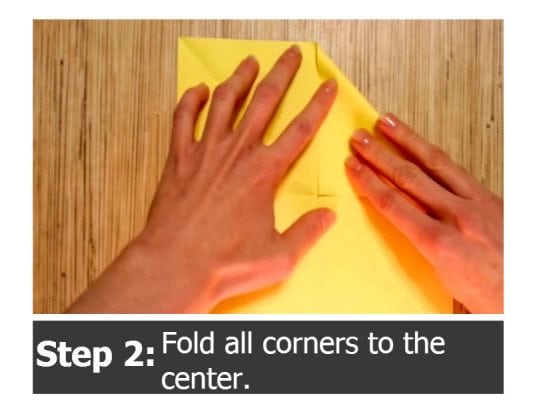
Open the paper, then fold all the four corners to the center which was created by the first two folds. Make sure the tips of the corners are all in the middle. Make your folds are neat and in line with the creases. After you fold, you will have four triangles.
Fold the two sides towards the center. Make sure the side touches the center. On the opposite side, fold it the same way. Make sure that you will only fold once for the consistency of the creases. You cannot achieve a perfect box if your lines are in chaos. Be meticulous.
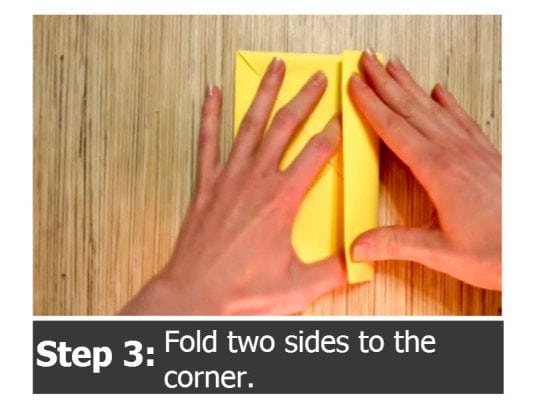
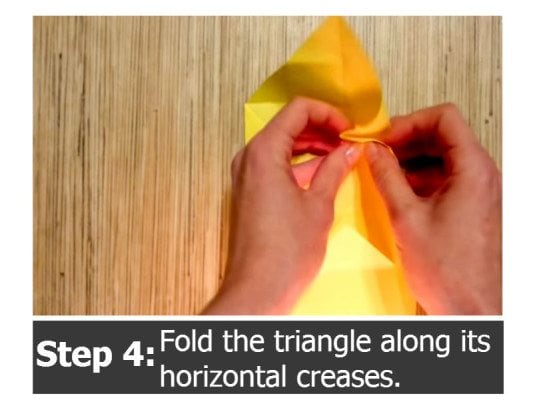
Open the folded sides and then, open one triangle. Fold the triangle along its horizontal creases. Fold the triangle inwards creating one side of the box. This is critical so you must hold your box to ensure it won't collapse. Open the opposite triangle and do the same to create the other side.
Get the smaller paper and repeat the procedures to create the second box. Once you are done, insert the new box to the bigger box and… Voila! You have DIY origami gift box for your present.

If you aim for a bigger box, customize the measurement of your paper and make sure all sides are equal to achieve a perfect box.


