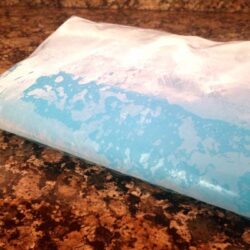
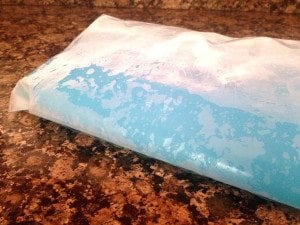
It's back-to-school, back-to-sports and back-to-injuries! My daughter started cross-country last week, and on the third day she developed shin splints and needed ice them.
Option #1: Ice cubes in a zip-top bag, wrapped in a towel – functional but melts fast!
Option #2: Frozen peas – easy to shape.
Option #3: Spend about $10 on a fancy gel ice pack.
Option #4: Be fancy and frugal…make your own gel ice packs!
We decided it would be fun and frugal to make our own Gel Ice Packs!

Make Your Own Gel Ice Packs
It's fun and frugal to make your own Gel Ice Packs! Make them today, and they'll be ready and waiting in your freezer for sports season!
Prep Time 2 minutes
Total Time 2 minutes
Ingredients
- 1 cup rubbing alcohol
- 3 cups water
- 3 drops blue food coloring optional, but it makes them look like the store bought kind!
- 2 gallon size zip top bags
Instructions
-
Pour the alcohol, water and food coloring in 1 zip top bag.
-
Close the bag, making sure to squeeze out all the air.
-
Place the bag inside of your other zip top bag for leak prevention!
-
Freeze for about 4 hours.
-
The mixture will not freeze solid because of the alcohol, but it will be super-cold and easy to shape over the injured area. It also won't be nearly as drippy as a bag of ice!
-
Wrap in a thin towel before placing on the injured area.


