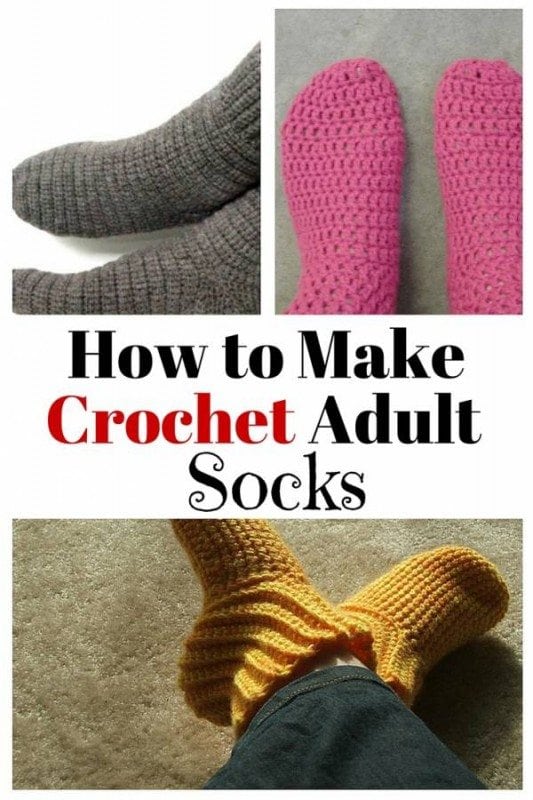
Keep feet warm and comfy during the colder months with these crochet adult socks. For crochet hobbyists, this is definitely a fun project in preparation for the holidays. Just follow the crochet pattern and make several pairs for your family and friends.
These crochet socks can be the perfect present too! Make one of each color or combine colors in each pair for a more colorful variety.
Let’s walk through it step by step—I promise it’s easier than it seems!
What You’ll Need
- Yarn: Soft, stretchy yarn works best (fingering or DK weight). I love using wool blends for warmth or cotton for lightweight socks.
- Crochet Hook: Go with the size recommended on your yarn label. I usually stick with a 3.5mm or 4mm for a good balance of structure and stretch.
- Tapestry Needle: For finishing the sock by weaving in ends.
- Scissors: Essential for cutting your yarn.
- Measuring Tape: To check the fit and avoid guesswork as you crochet.
Step 1: Start with the Toe
- Make a Magic Ring: Crochet 6 single crochets (sc) into the ring and pull it tight. This will form the base of your sock.
- Increase Rounds: Crochet 2 sc in each stitch around, increasing evenly until the circle matches the width of your foot. You’ll want to hold it up to your toes to check the size—it should cover them comfortably without being too loose.
When I made my first sock, I kept measuring the toe like it was the most important thing. Spoiler: it’s not. Socks stretch! Don’t overthink it—just make sure it feels right for your foot.
Step 2: Crochet the Foot
- Once your toe is wide enough, stop increasing and continue working in even rounds. This part is the “tube” that will stretch across the length of your foot.
- Keep crocheting until the piece reaches the base of your ankle. Try it on periodically to make sure the length feels good.
The foot section is where you find your rhythm. I like to turn on a show or listen to music while working this part. It’s repetitive, but it's rewarding to watch the sock grow.
Step 3: Shape the Heel
- Work in Rows: Switch to working back and forth in rows to create a flat piece. This will become the heel cup.
- Decrease Rows: As you work, decrease stitches at each end of the row to shape the heel into a curve.
- Once the heel is shaped, rejoin the stitches to the rest of the sock and resume working in the round.
The heel is a bit tricky, but it’s actually a fun little challenge. I remember redoing my first heel a couple of times, but once I got the hang of it, it felt like solving a puzzle. Don’t rush—just follow your stitches and trust the process.
Step 4: Crochet the Cuff
- Work in rounds again, using single crochet or a ribbed stitch (back loop-only single crochet works great for stretch).
- Crochet until the cuff is as tall as you like. For ankle socks, I usually make the cuff about 3 inches tall, but you can go longer for taller socks.
The cuff is where you can get creative. I’ve added stripes here, experimented with textured stitches, or just kept it simple and stretchy. It’s the last part of the sock, so I always enjoy taking my time and adding a little personality.
Step 5: Finish and Weave in Ends
- Use your tapestry needle to weave in any loose ends.
- Try on your finished sock! Admire your work and adjust any areas if needed.
Crocheting socks can be a very rewarding project. Homemade socks are cozy, functional, and make fantastic gifts for friends and family. Take your time, enjoy the process, and don’t stress over perfection—every stitch is part of what makes them special. Once you make your first pair, you’ll see how fun and relaxing sock-making can be. Happy crocheting!