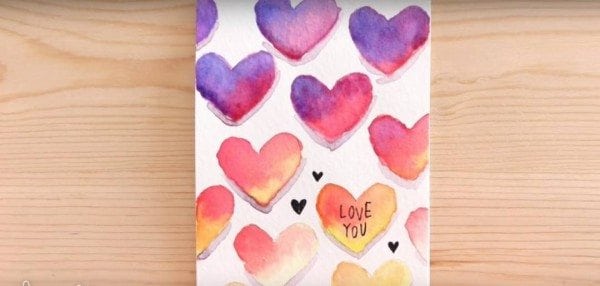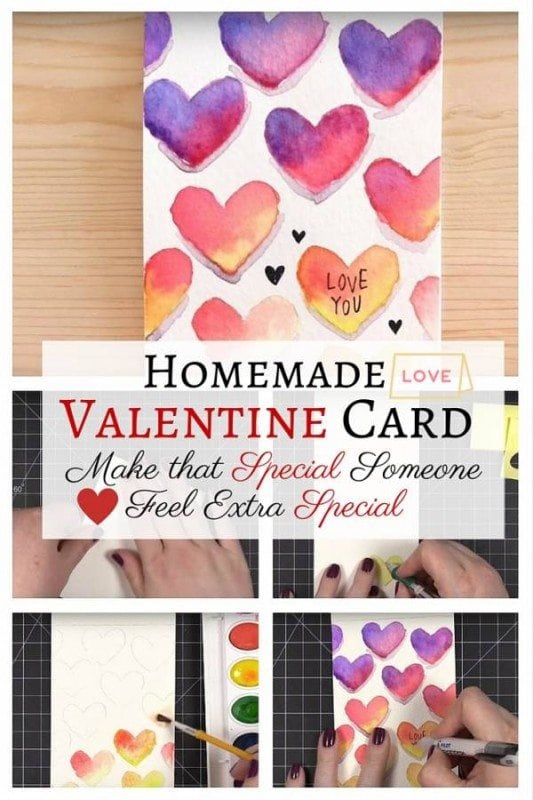
What could be better than a homemade Valentine card to tell that someone special how much you love him or her? Love is the most beautiful feeling in the world and let that person feel loved this coming Valentine’s Day with this DIY. Today, we have this homemade Valentine card tutorial that is super easy and yet makes a lovely gift idea for a beloved. Don't spend on those expensive cards because you can make one on your own. Read on.
What you need:
- 9″ x 12″ watercolor paper
- Washable watercolour
- Brush
- Black pen
- Bone folder
- Colored paper
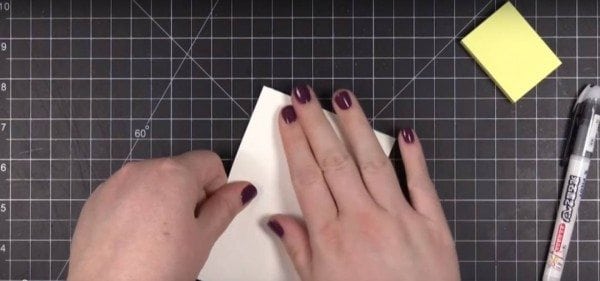
Fold the 9” x 12” watercolor paper into half. Use the bone folder to neatly fold the paper and to avoid untidy cracks.
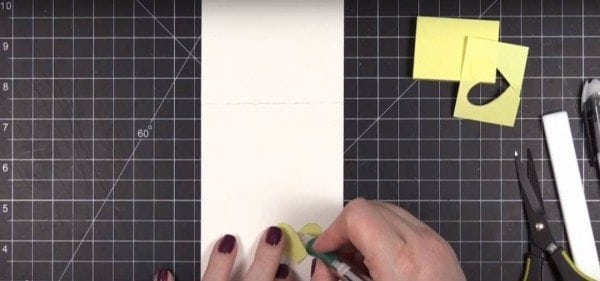
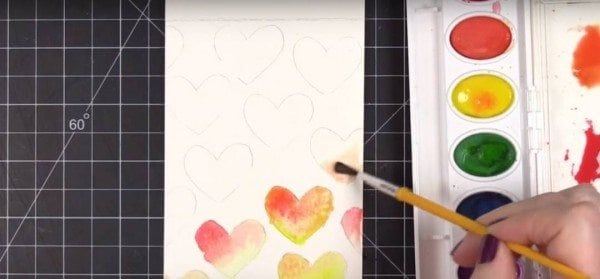
Get one colored paper, draw a small heart and cut it out. Place it in front of the card and use pencil to trace around it. Continue tracing more hearts leaving enough space between them.
Get the watercolor ready. Choose the colors you want. To get that perfect design, drop some water into the heart before placing the colors. Before bringing the colors, make sure the entire heart is saturated. If so, add the colors. Red and yellow are highly recommended for this love season. If the colors are set, bring an edge to the design by mixing a really water-down gray and paint it under the hearts creating shadows.
Let the watercolor dry up. Once dry, get a black pen and add sayings like “I love you” inside a heart.
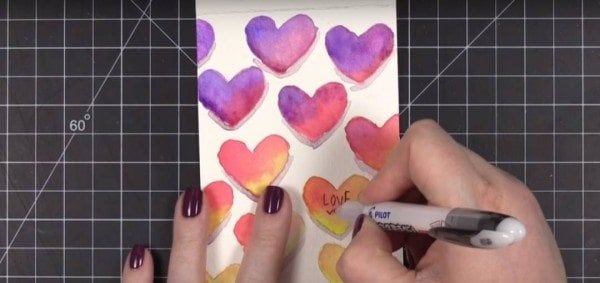
And you're done! Fill the card with a message of love you want that special someone to read.
