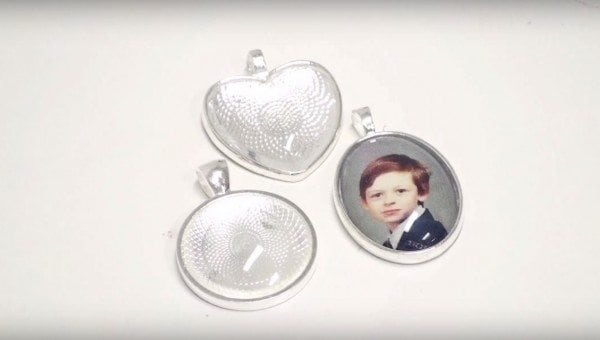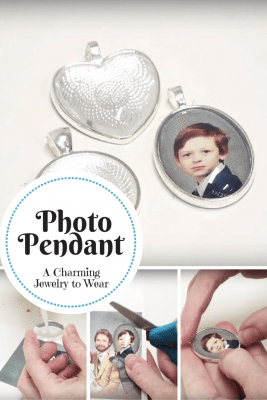
A necklace photo pendant is a customized addition to your jewelry collection and can be worn anytime. It is a personalized jewelry piece that you can put a photo of your yourself, your grandparents, parents or someone special. Make this charming jewelry-to-wear through the following steps:
What you need:
- Glass cabochon (any shape of your choice)
- Printed photo of your choice
- Diamond Glaze adhesive
- Crafter's Pick non-toxic super glue
- Scissors
It is important to print your photo on a heavier paper like card stock. This to avoid ripples when you apply glue on the paper. When you apply any liquid on a standard paper, it creates a ripple that destroys the entire print. If you are ready, then let's get it started.
Grab the glass cabochon and position it on the desired place on the photo. Take the glass cabochon from the picture, flip it over and place a few drops of Diamond Glaze adhesive.
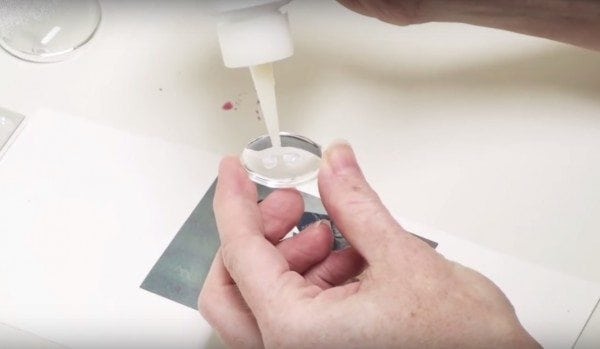
Flip it over again and carefully put it back to its position a while ago. Put a bit of pressure on the glass using your hands. Once you put the glass, do not try to move it as you will smear the ink and destroy the project. Let it dry for about 10-15 minutes.
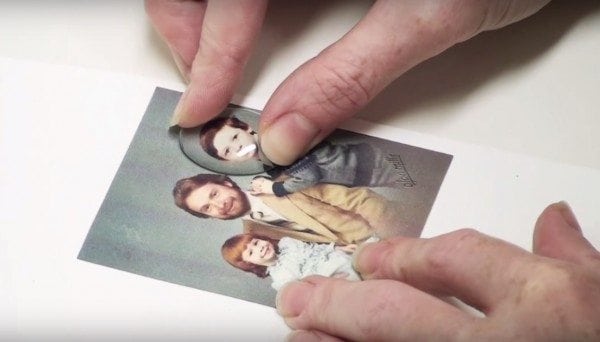
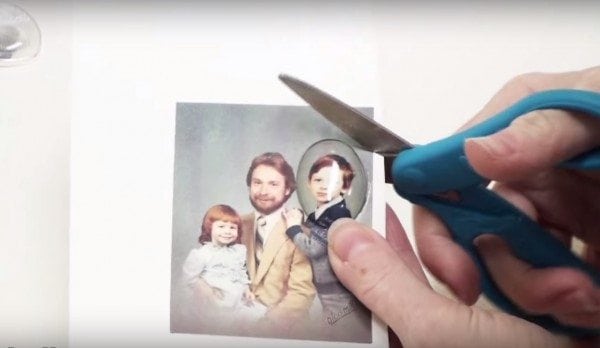
Grab the scissors and cut along the edge of the glass cabochon.
Take the Crafter's Pick non-toxic super glue and apply some on the back of the photo. Then, carefully place it on the metal setting for the final touch.
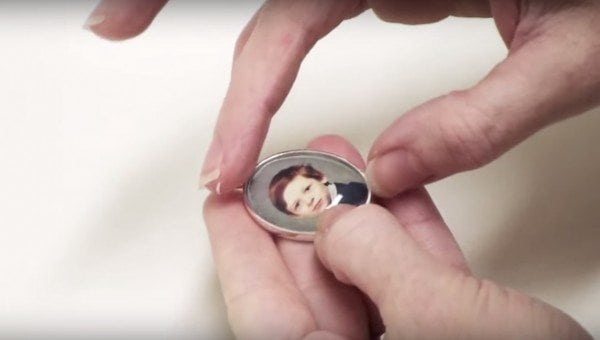
Let it dry overnight before putting the chain. Wear and admire your work!
