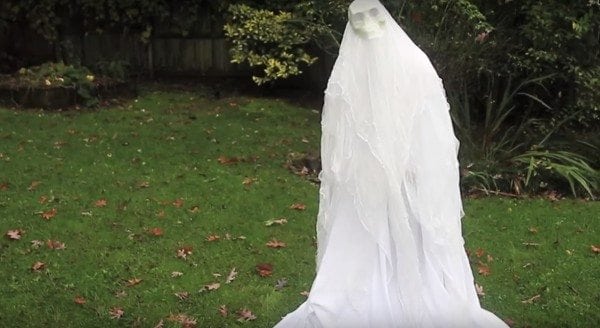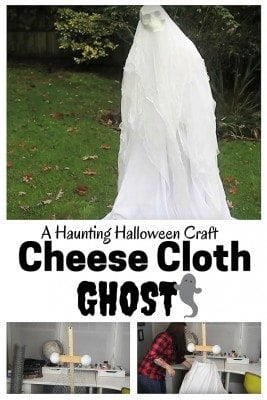
Make a ghost host this Halloween made from cheesecloth. These layers of cheesecloth surely create an eerie ambiance to your outdoors. This is a fun project for kids and adults. If you are ready to brig some scare, then read on for instructions.
What you need:
- Styrofoam skull
- Cheesecloth
- White fabric
- Pieces of wood
- Mod podge
- Chicken wire
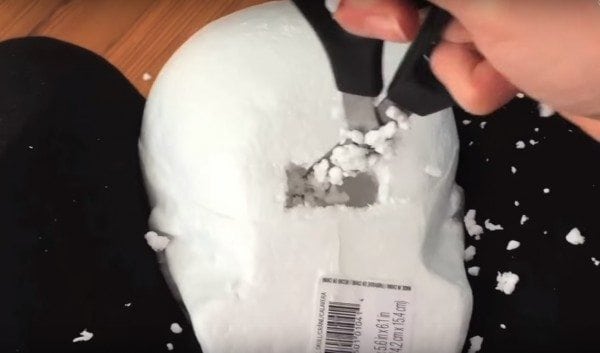
First, you need to dig a hole at the bottom of the skull wide enough for the piece of wood to be inserted. You may use knife or scissors.
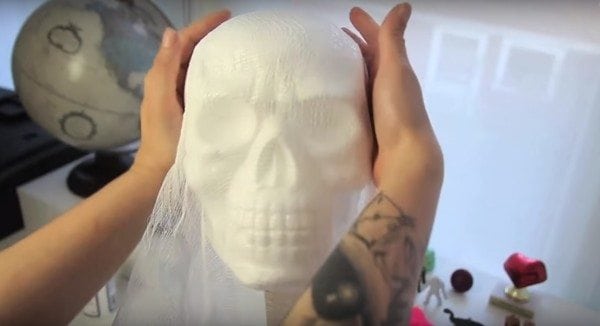
Place the skull on a piece of wood and apply mod podge. Place the first layer of cheese cloth. Repeat the step for the second layer of cheese cloth.
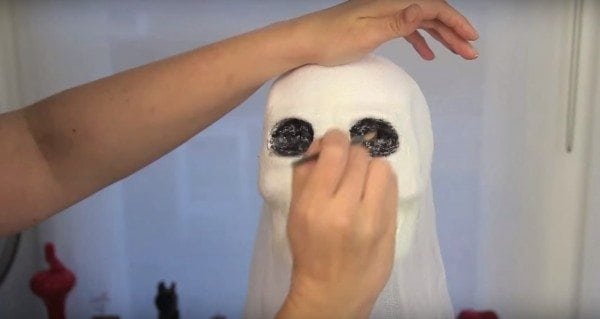
Trim off the cheese cloth on the eye sockets and paint them black. This will give the skull a 3D effect. Afterwards, add more mod podge and cheese cloth.
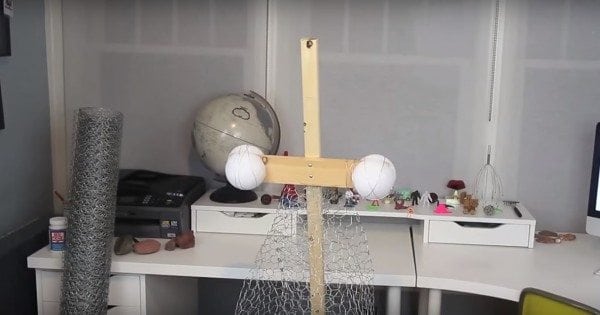
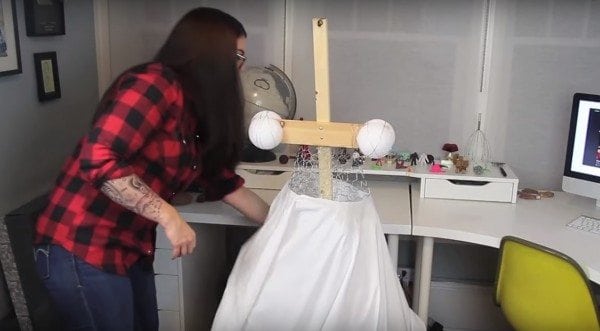
The head is done. Now, work on the body. Get two pieces of wood and put it over the other creating the hands and body. Wrap chicken wire around the lower section of the body. Bear in mind be careful working with chicken wire as you may get hurt.
If you are happy with the skeleton of your ghost, it is time to drape it with white fabric. First, at the lower section then at the shoulders. Secure the skull at the top. You may turn it into an angle which gives it a creepier look.
And you are done! Place it on your yard as bone-chilling decor this Halloween.
