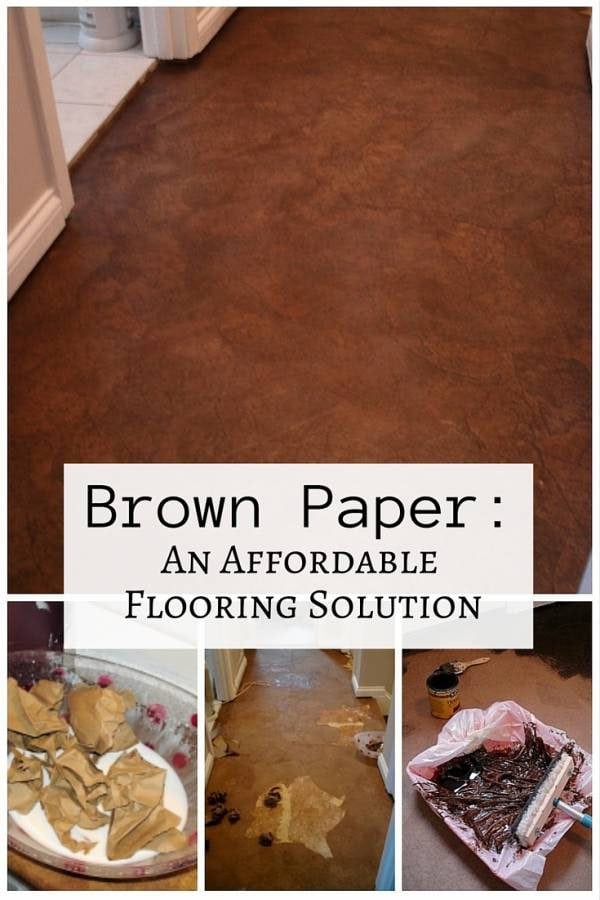
Have you ever heard about brown bag flooring? The tutorial is so easy, and you can ask kids to help you out.
Here’s an easy tutorial for creating a unique and budget-friendly brown paper bag floor. It’s a fun DIY project that gives your floors a warm, textured look, perfect for any space.
Materials You’ll Need
- Brown paper grocery bags
- Elmer’s glue or wallpaper paste
- Water-based polyurethane
- Paint tray or roller pan
- Paint rollers and brushes
- Bucket for mixing glue
- Plastic drop cloth
- Scissors or hands for tearing paper
- Sandpaper (medium grit)
Step-by-Step Instructions
Step 1: Prepare the Floor
- Clear the room of furniture and clean the floor thoroughly. Sweep and mop to remove all dust and dirt.
- If the floor has any uneven spots, sand them down with medium-grit sandpaper. For existing flooring like tile or laminate, lightly sand to help the adhesive stick.
- Lay down a plastic drop cloth along the baseboards to protect the walls.
Step 2: Tear the Paper
- Tear the kraft paper into pieces about the size of your hand. Avoid straight edges for a more natural look.
- Crumple each piece into a ball, then flatten it out to create a textured, wrinkled effect.
Step 3: Mix the Glue
- In a bucket, mix three parts glue with one part water. Stir until it’s smooth. This will act as your adhesive.
Step 4: Apply the Paper
- Brush or roll a layer of the glue mixture onto a small section of the floor.
- Place a piece of paper onto the glue and smooth it out with your hands or a brush, working out any air bubbles.
- Overlap the edges of the paper pieces slightly to create a seamless look.
- Repeat until the entire floor is covered, working in small sections so the glue doesn’t dry out.
Step 5: Let It Dry
- Allow the floor to dry completely, which can take up to 24 hours depending on the temperature and humidity.
Step 6: Apply Polyurethane
- Pour water-based polyurethane into a paint tray.
- Use a paint roller to apply a thin, even coat over the entire floor. Let it dry completely (follow the drying time on the polyurethane label).
- Apply two or three additional coats for durability, allowing each coat to dry before adding the next.
Step 7: Let the Floor Cure
- Once the final coat is dry, lightly sand the floor with fine-grit sandpaper for a smooth finish, then wipe away the dust.
- Let the floor cure for a few days before moving furniture back in.
Tips for a Great Result
- If you want a darker look, stain the paper pieces before applying them.
- Extra coats of polyurethane help protect the floor from scratches and spills.
- Clean with a damp mop and avoid harsh chemicals.
This project is affordable, customizable, and surprisingly easy. With a little time and effort, you’ll have a one-of-a-kind beautiful floor!


