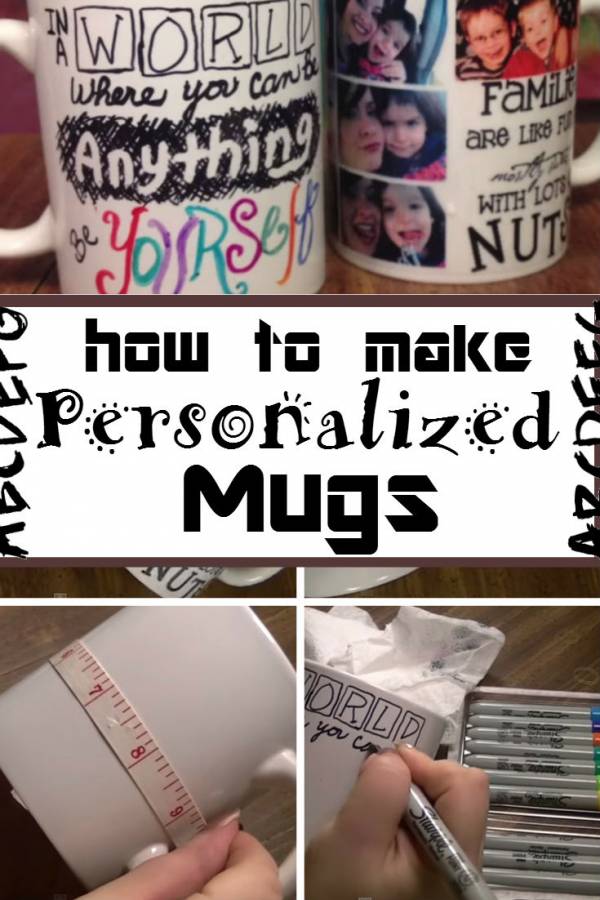
Get tired of a plain mug? Spice it up with creative designs you can make on your own! Today, I am going to share two ways on how to make personalized mugs. You just need a bit of creativity and… time.
What you need:
- 2 white mugs
- Sharpie permanent markers (different colors)
- Dry erase marker
- Decal paper
- Mod Podge (Dishwater safe from amazon)
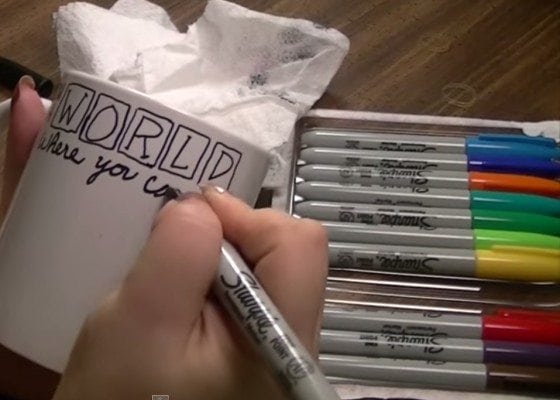
Grab one white mug and start drawing your designs. It could be an inspiring quote or a beautiful scenery. Dry erase marker serves as eraser on permanent markers. You can use it to delete mistakes or create stunning designs. Use eraser or towel to clean up the mess.
If you are satisfied with the look of your mug, it is time to bake it. Set the oven to 350 degrees and put the mug. Let it bake for 30 minutes. After the time, leave it in the oven to cool.

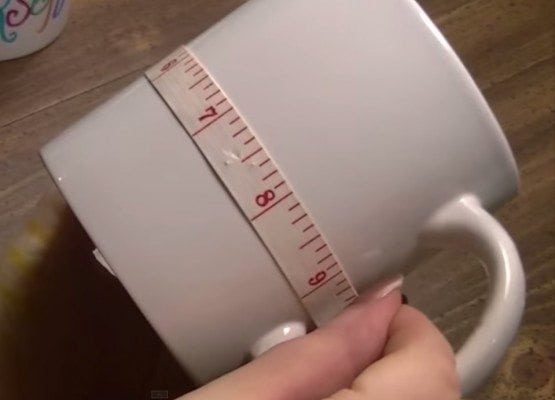
Another way to personalize your mug is using decal paper. First measure your mug. The measurements will serve as your guide in your designs.
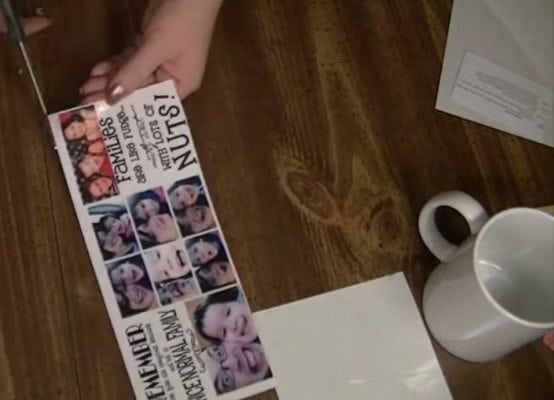
Create your designs on Photoshop or any photo editor. It could be a collage of family photos or another inspiring scenery or quote. Print your design on the decal paper. Cut it out. Ensure you trim the excess paper.
Check if the design has completely dried up for the next step. Peel the design from the paper and gradually apply on the mug. It is advisable you work section by section. Use your fingers to feel for air bubbles.
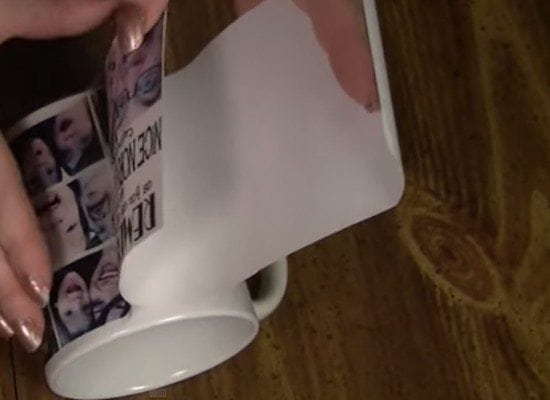
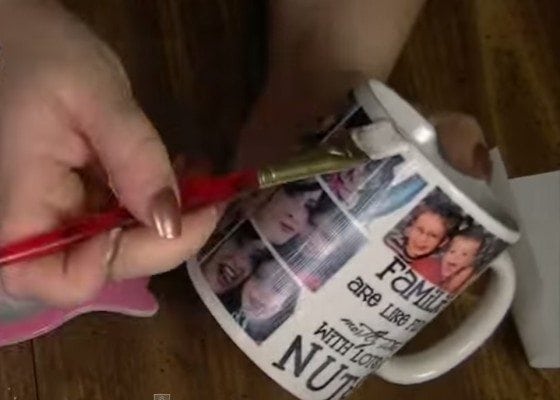
For the finishing touch, apply a couple of layers of mod podge on the design. Then, let it dry.
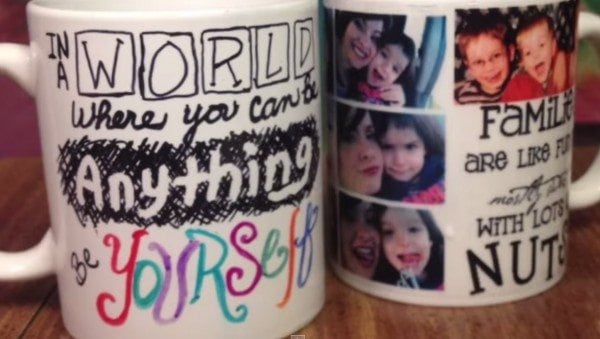
And you are finished! Drinking coffee will never be the same again with these fascinating personalized mugs.


Can the mod pudge mugs be washed?
Hi Michelle – Yes. You can even get a dishwasher safe Mod Podge from amazon.